Gaming Table x Foundry VTT
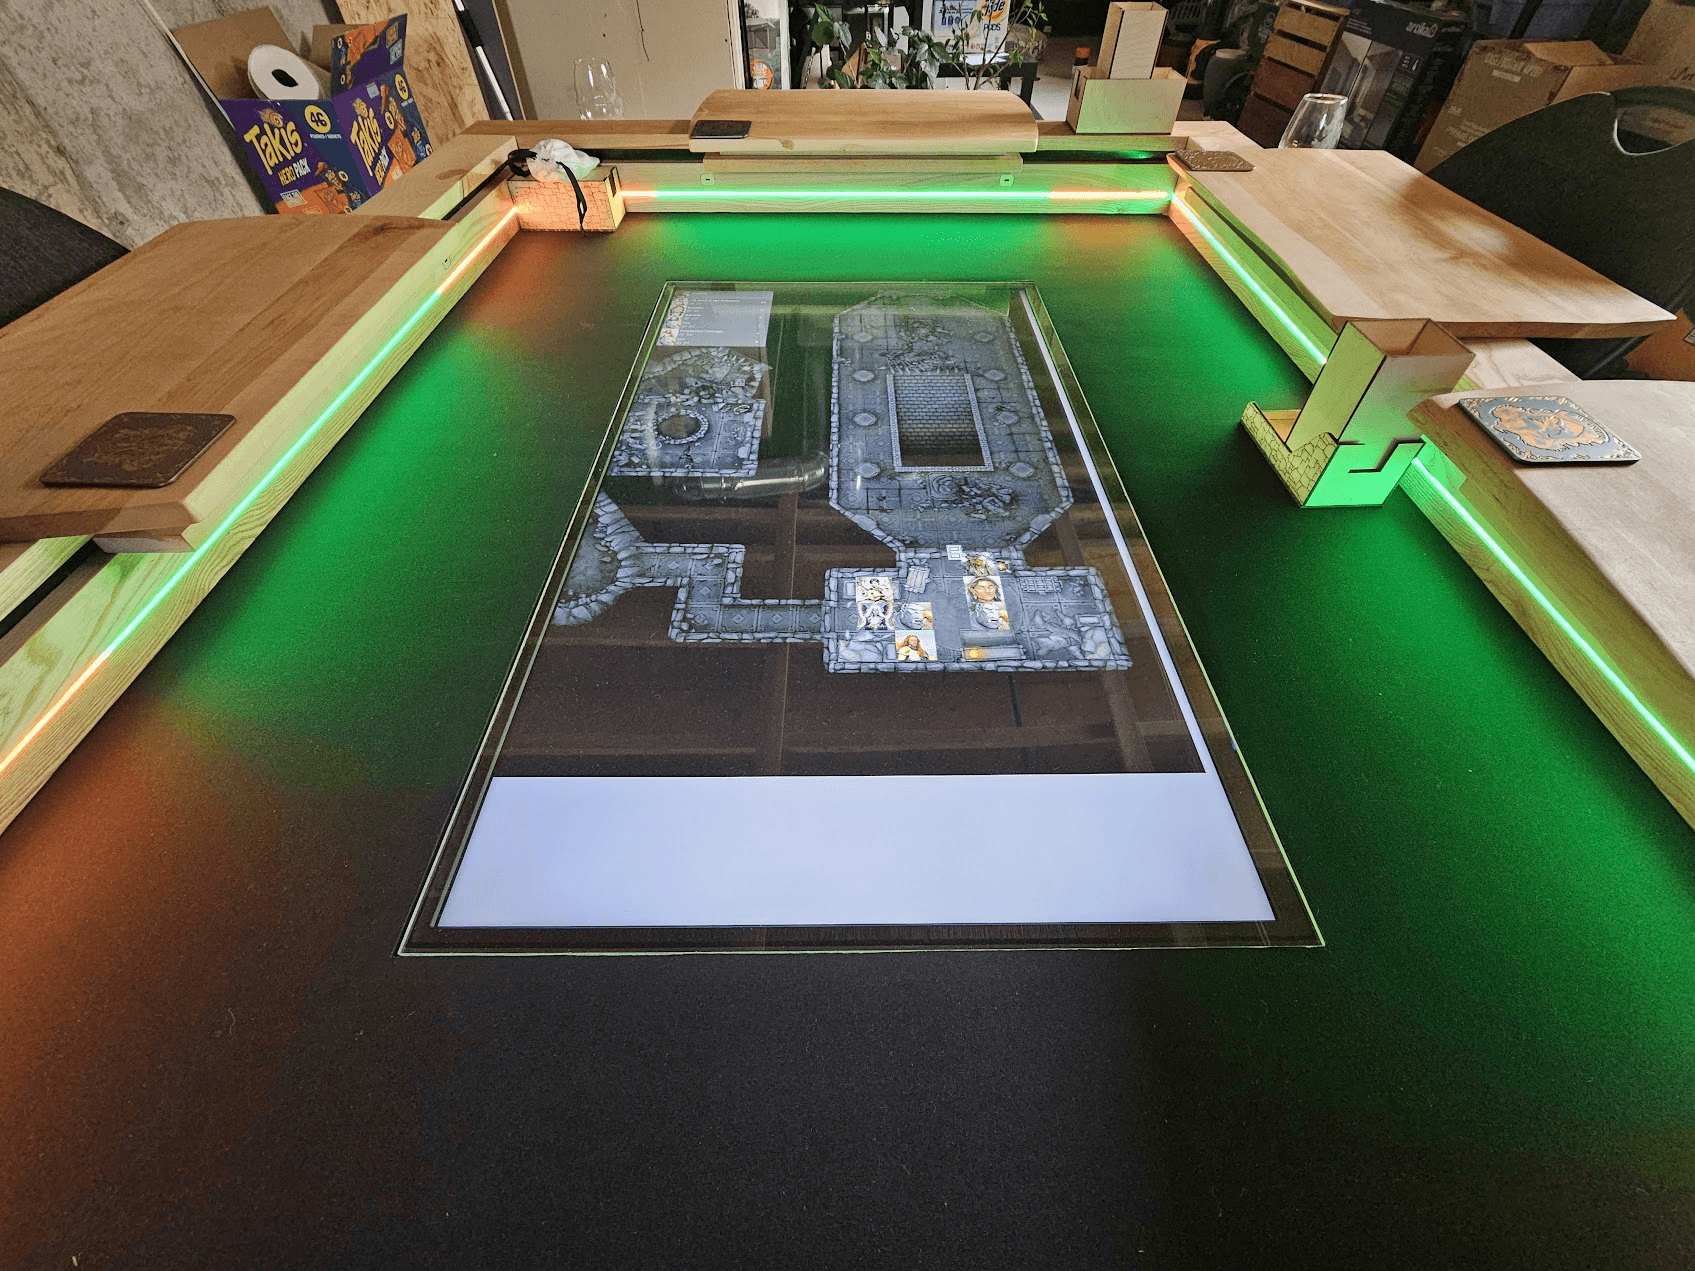
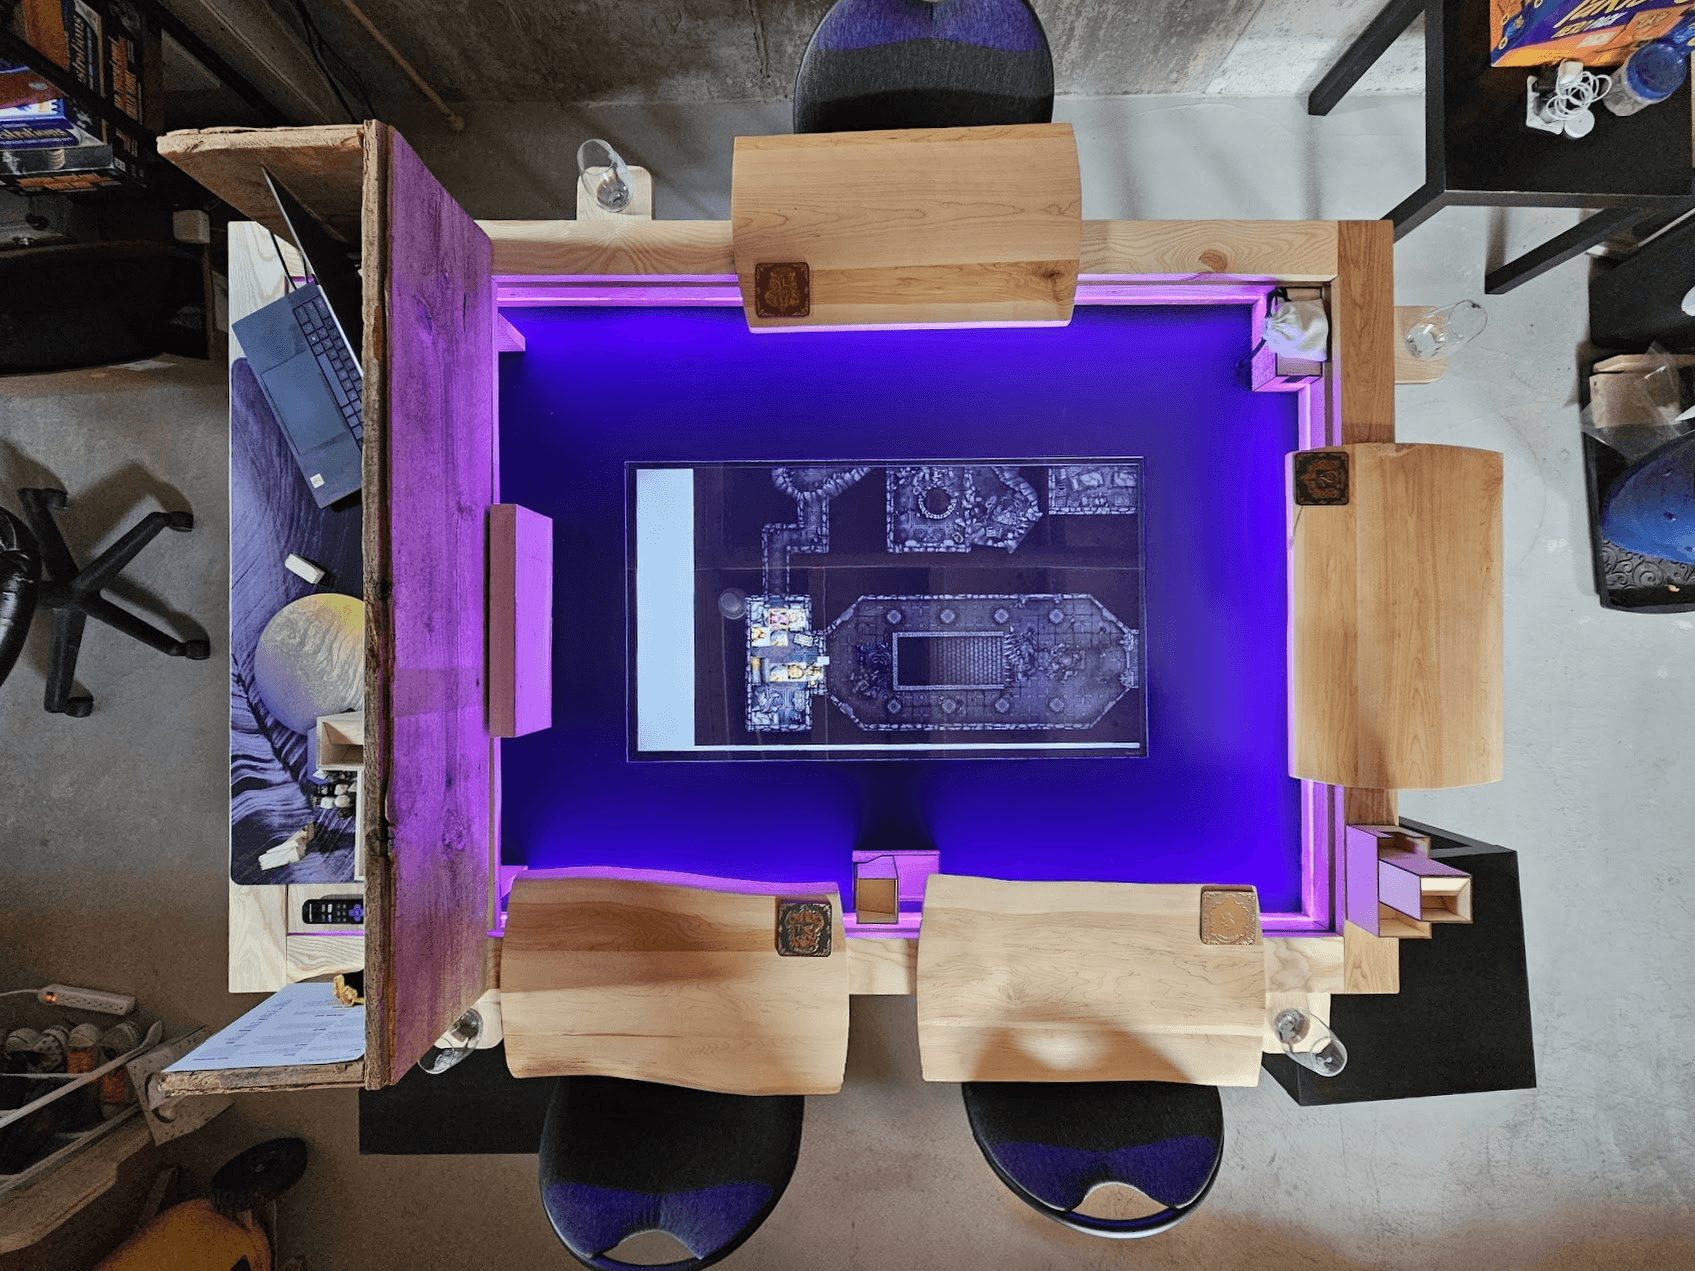
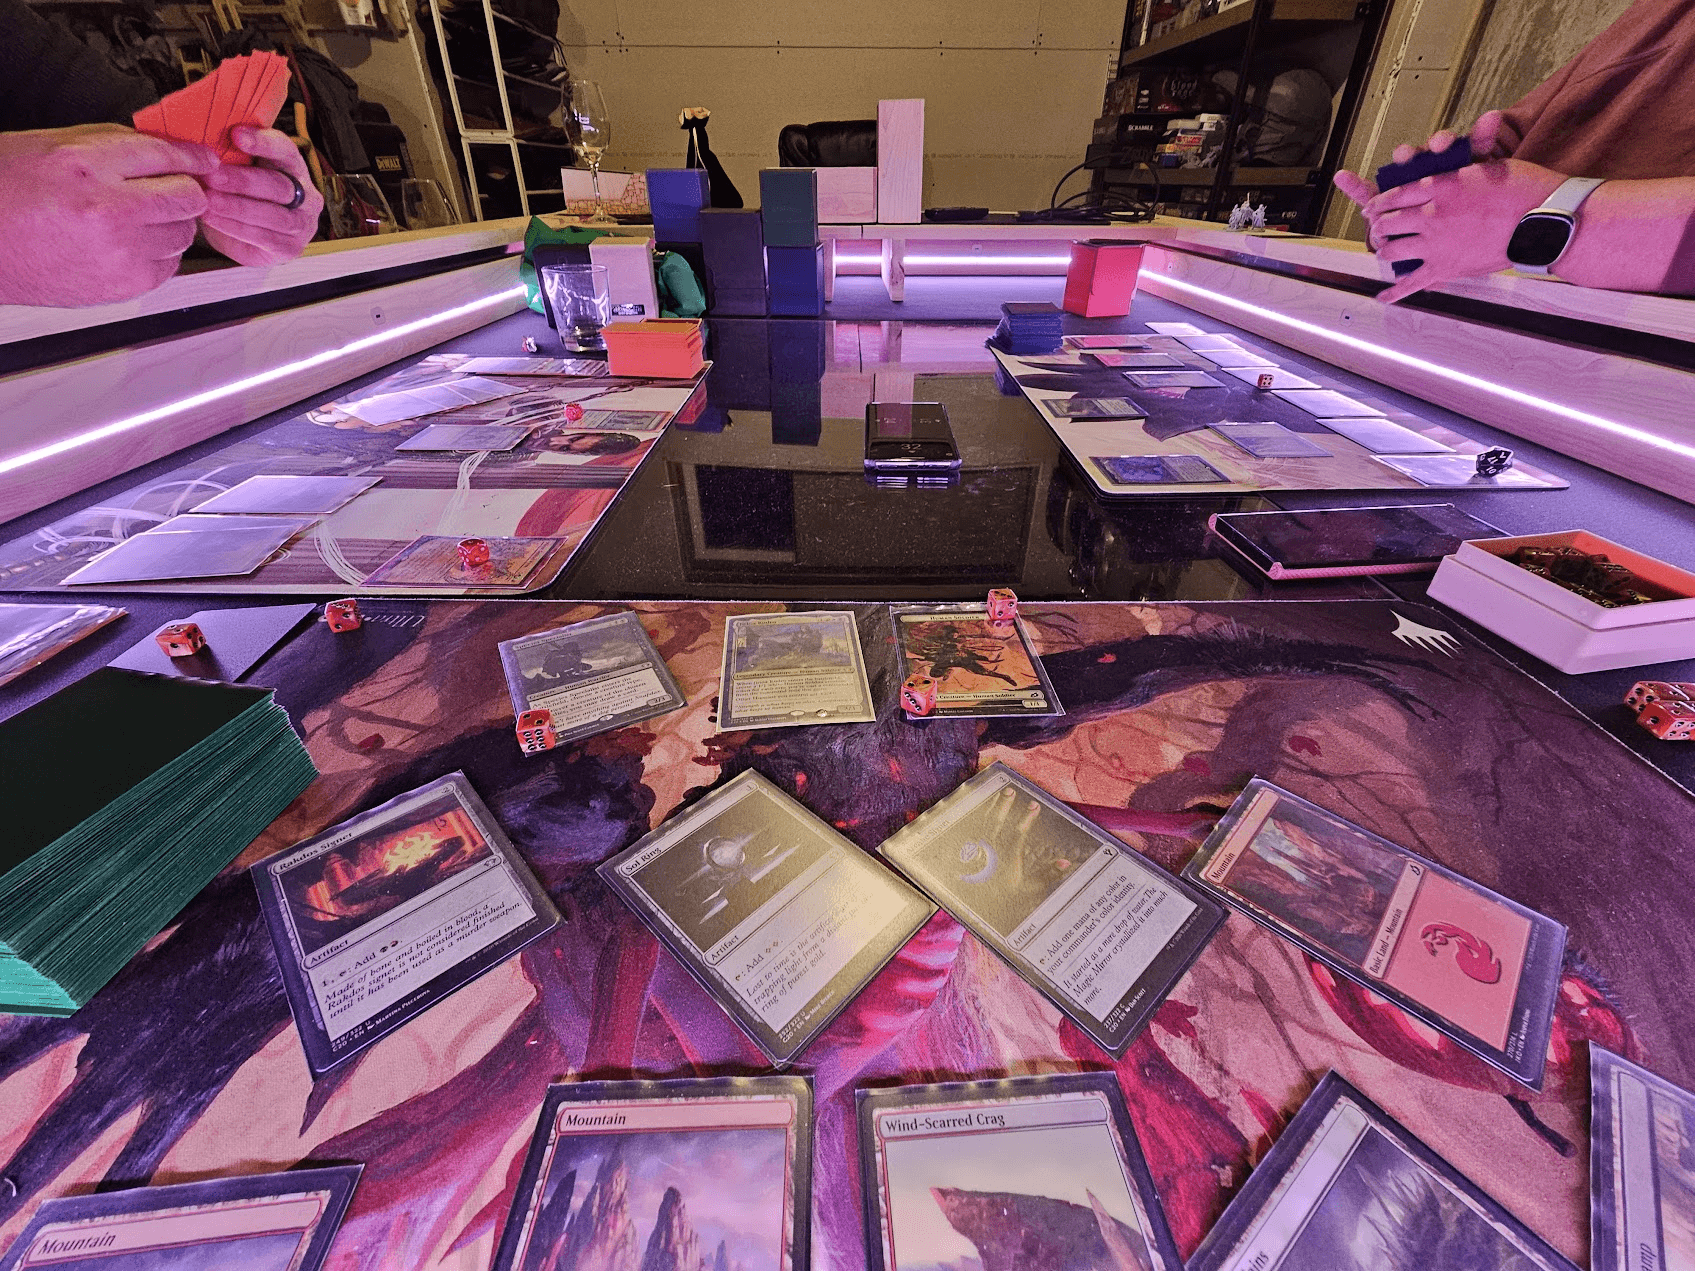
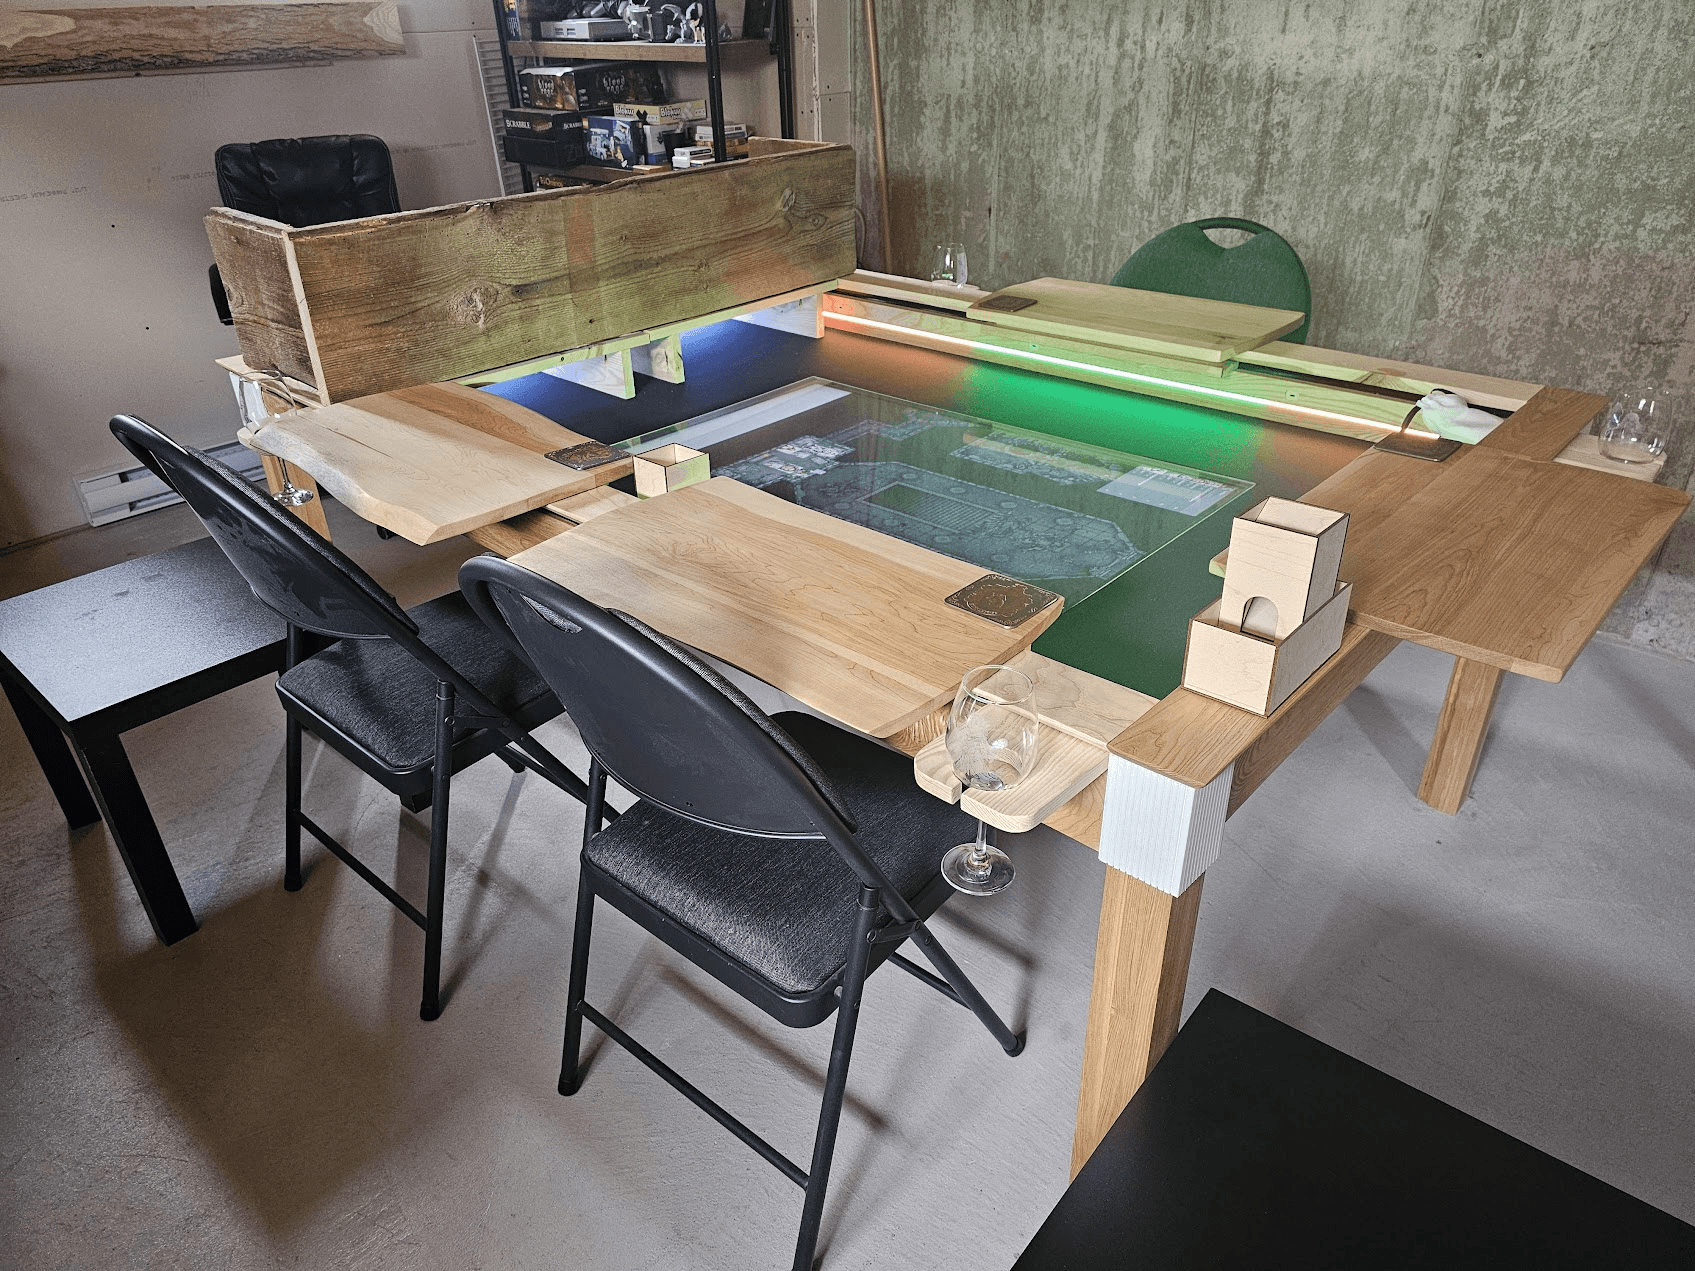
A few friends of mine wanted to start a D&D campaign. As I was the only one who had previously played, I took the role of DM. In my previous experience as a player, one thing I wished for was more immersion when it came to terrain and scenery. So, as with most things I do, I kind of went over the top. I started looking into 3D printing terrain, but saw there would be a lot of waste, not to mention having to store/organize all the different pieces. I then looked into virtual table tops and was sold. With the wonders of "The Algorithm", Wyrmwood started popping up in my feed. They make these gorgeous tables that accept a bunch of different accessories. And so began the journey into building a custom gaming table with a built-in TV, magnetic rail, USB C ports, and custom LED lighting.
After moving gym equipment elsewhere and optimizing the storage situation in my basement, over the next 5 months my dad and I turned the dream into a reality. We built out a small workshop to do everything we needed. Then, after a bit of a hick-up sourcing the wood, we made a trek over to Ontario to pickup some nice White Ash from someone's barn. After that, everything went smoothly right? Of course not. All projects have obstacles. The more complex the project, the more issues you're going to encounter. And this table was complex, not only for woodworking but also the tech.
The TV is the center piece. Supported by 3D printed brackets I designed to perfectly match the TVs shape, it hangs just below the playing surface of the table and is covered by a sheet of acrylic for durability. When playing D&D the TV shows maps, scenic images, and other information. In our first session I used D&D Beyond's new Maps feature. For the most part it went pretty smoothly. They have a great "fog of war" feature that lets you unpaint the scene to reveal it to the players. Performance was a bit of an issue, though my biggest gripe was that it unpaired at like 6 times due to "inactivity". This was extremely distracting and broke the flow each time. It was nice because it was "free" (built in to the cost of the "Master" subscription), but this was a deal breaker. It is in beta, so bugs are to be expected, but it was time to look at alternatives.
A popular choice for VTT is Foundry VTT. An extremely solid, tested base with a massive community behind it publishing add-ons. To boot, module development is just web technologies (javascript, html, mustache, CSS). AND, NO SUBSCRIPTION! Just a one time fee and then self-hosting. The choice was clear and this was it. I made the switch and haven't looked back since.
The USB ports are somewhat incomplete at the moment. The idea behind these was to not only connect devices for charging, but also integrate game accessories. I designed and printed a chassis to perfectly fit the PCB and mount into a slot we cut into the wood. Shielded wire runs from each port out to a single corner by the DM. The ports support both data and power but right now they're only connected to the PSU. However, I made a booboo picking the PCBs. Right now when you plug in your phone you get a nice message saying that something might be wrong with the cable and that it's slow charging. I've since learned about power negotiation which is required to charge at more than 5V. Unfortunately this will require changing out the hardware (which I'm struggling to source) and adding more wiring so this will only be done in the medium term. Long term goal is to integrate them into Foundry with a small dot-matrix LED that shows health, and a rotary encoder to adjust. I also plan on redesigning the hubs to use a semi-translucent acrylic so the LED shines through it.
One of the biggest issues we had was with the LED strips. We went through 3 different kinds, switched from Raspberry Pi to ESP32, and moved from using base libraries to using WLED. We even had to bust out an oscilloscope. But through all that struggle, wanting to abandon multiple times, the end result looks dope as hell.
Throughout the hardware struggle, I also had to build out an interface for controlling these. The main goal behind these, aside from just looking cool, was to display the characters' health bar and turn indicator in the physical world, where the player was sitting. I found in my previous campaigns we would frequently ask what each other's health was and this was a cool we could easily see everyone's current state.
Since I was initially using D&D Beyond, which has no extensibility or APIs, I had to build a full fledge interface for configurations (API URL, LED count), players (positioning), and combat (order/turn, health, etc). I built this with:
Vite for building
Typescript and React (18) for the framework
DaisyUI and TailwindCSS for styling
As well as a few other packages for things like color pickers
I also needed to have this interface communicate with the LED strip. When I first started this, I was using a "NeoPixel" LED "Neon Rope" strip which is just an addressable LED strip in a silicone "tube" to diffuse the lighting making it look more like a neon tube. The native library is made for Arduino, but there was a port to Python which I though I could leverage. The basic architecture and flow was:
LED Strips connected to a Raspberry Pi (and old 3 B+ from another abandoned project)
Frontend makes REST API calls to a small NodeJS Express server hosted on the Raspberry Pi
API calls Python script with specific arguments
Python interacts with LED strip through a ported NeoPixel library.
The frontend interface, API, and python are all in the same repository for simplicity's sake. I set up build scripts to handle both the API and frontend using concurrently, adjusted Vite to route API calls to the Express server.
Now, it's great that all the code is (neatly separated) in one place, but I'm still dealing with two systems. The frontend, running on my local machine, and the "backend" running on the Pi. To make things easier, as a true developer I spent hours setting up a fantastic script and cronjob to automatically pull in new code and restart the backend server when necessary to avoid the 30 seconds it would've taken to SSH into the Pi and do the process manually each time. Whether or not it saved me time in the long run is debatable, but at least it was cool!
It was all working well at my desk. I also did a test on the actual table and that worked. A couple days later when we went to glue them in place, it stopped working. At each of the corners, I had to splice the strip, soldering wires to the pads so it could bend the 90 degrees properly. The strip would light up along the straight, and then stop at the splice. Long story short, after a lot of debugging, swapping LED strips to a COB variant instead (which looks a lot better anyways), and changing over to an ESP32 and WLED instead of Raspberry Pi and Python, we figured out that the voltage is extremely sensitive (especially at those joints) and the library wasn't great at handling that.
With that switch, not only did I now have access to a variety of sick looking LED animations instead of having to implement them myself, I no longer had to manage the backend. I could integrate directly with WLED's REST API. So I refactored the code to call those APIs, removed the python and Express server and that was that.
Full repository is available here:
Python based LED control - Before refactor to WLED
WLED based LED control - After refactor to WLED
After the first session I made the move to Foundry VTT. I decided to move my integration over to Foundry. This started my battle with Foundry and their "okay" documentation. It was a pretty steep learning curve. Their classes are well documented, but I found it didn't match what you actually deal with. Things you think should work according to the documentation just don't as the call flow or functionality isn't described. Also their system has changed a lot over the years so third-party answers/documentation can be out of date. Overall I found they could do with having more real-world code examples. Very complex systems require extensive documentation. All in all I made my way through and managed to integrate WLED into Foundry. Configurations are available in their configuration interface, character health is displayed when in an encounter, current player indicator is updated based on whose turn it is, and the color is updated when the character's health is changed.
Repository available here


